How to Grow Hyssop
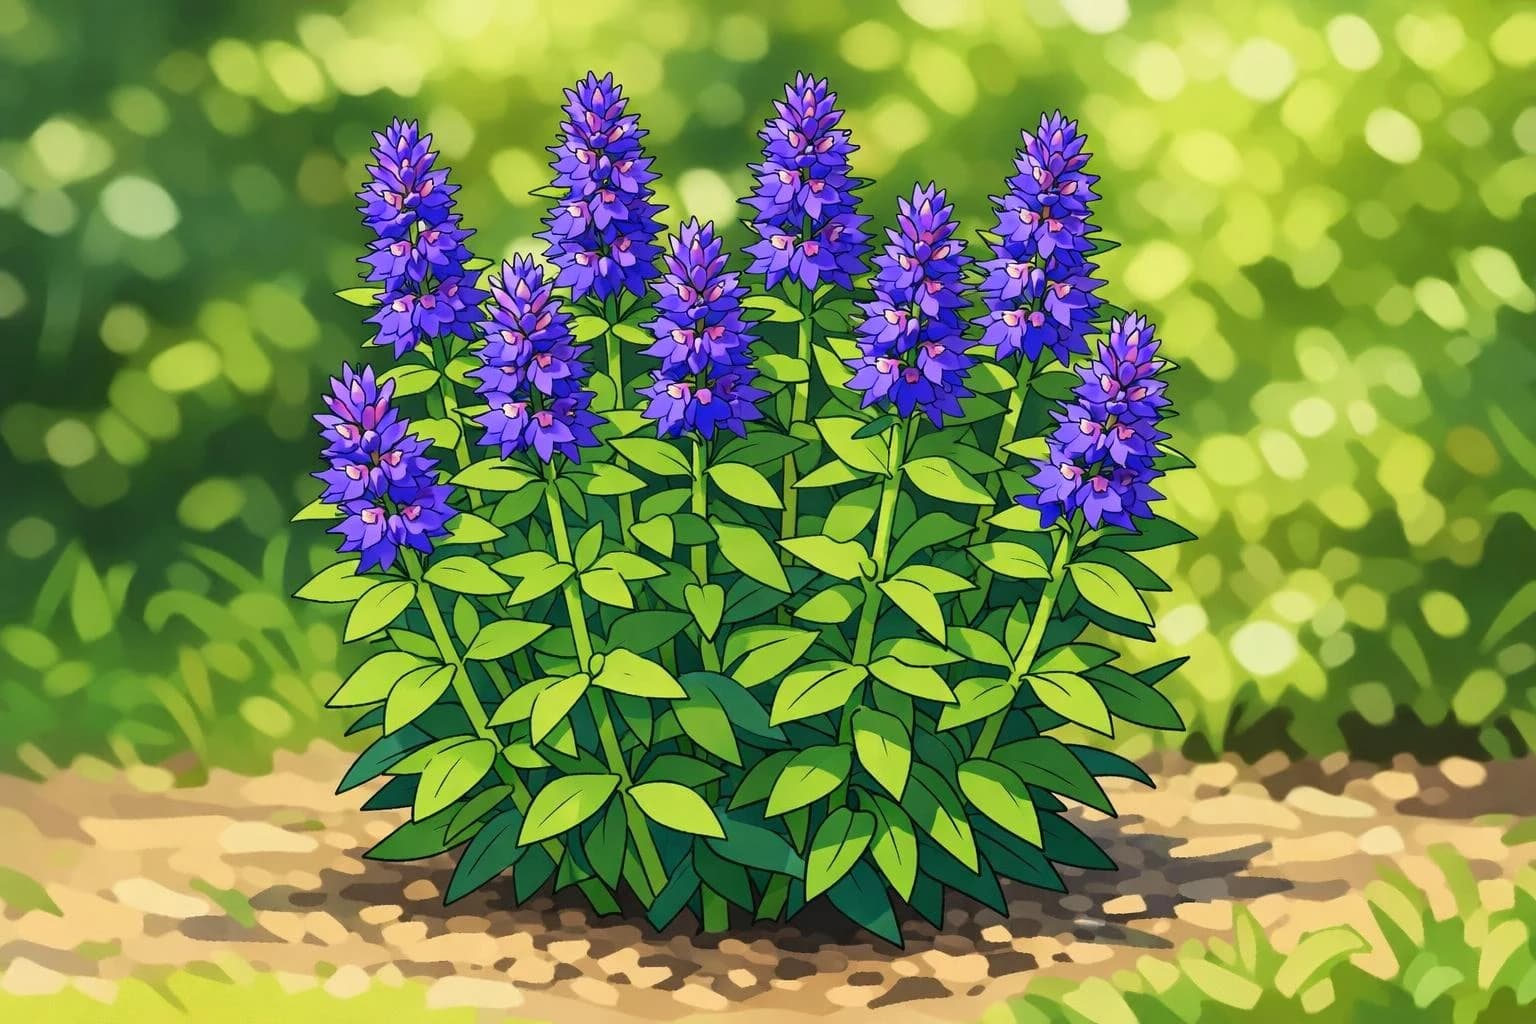
Hyssop At a Glance
Difficulty
Easy
Category
Herb
Sun Exposure
Full Sun
Frost Tolerance
Frost Hardy
Cold Hardiness
Survives to -29°C
Plant Family
Lamiaceae
Growing Season
Warm Season
Plant Lifecycle
Perennial
How to Start It
★ Recommended for beginners
Hyssop handles light frost, so sow it outdoors in spring, about 1 week before your last frost. Sow the seeds 0.5 cm deep and keep the soil damp, since they are slow: they sprout in 14 to 21 days. Thin them (pull the extras) so each plant has 30 cm.
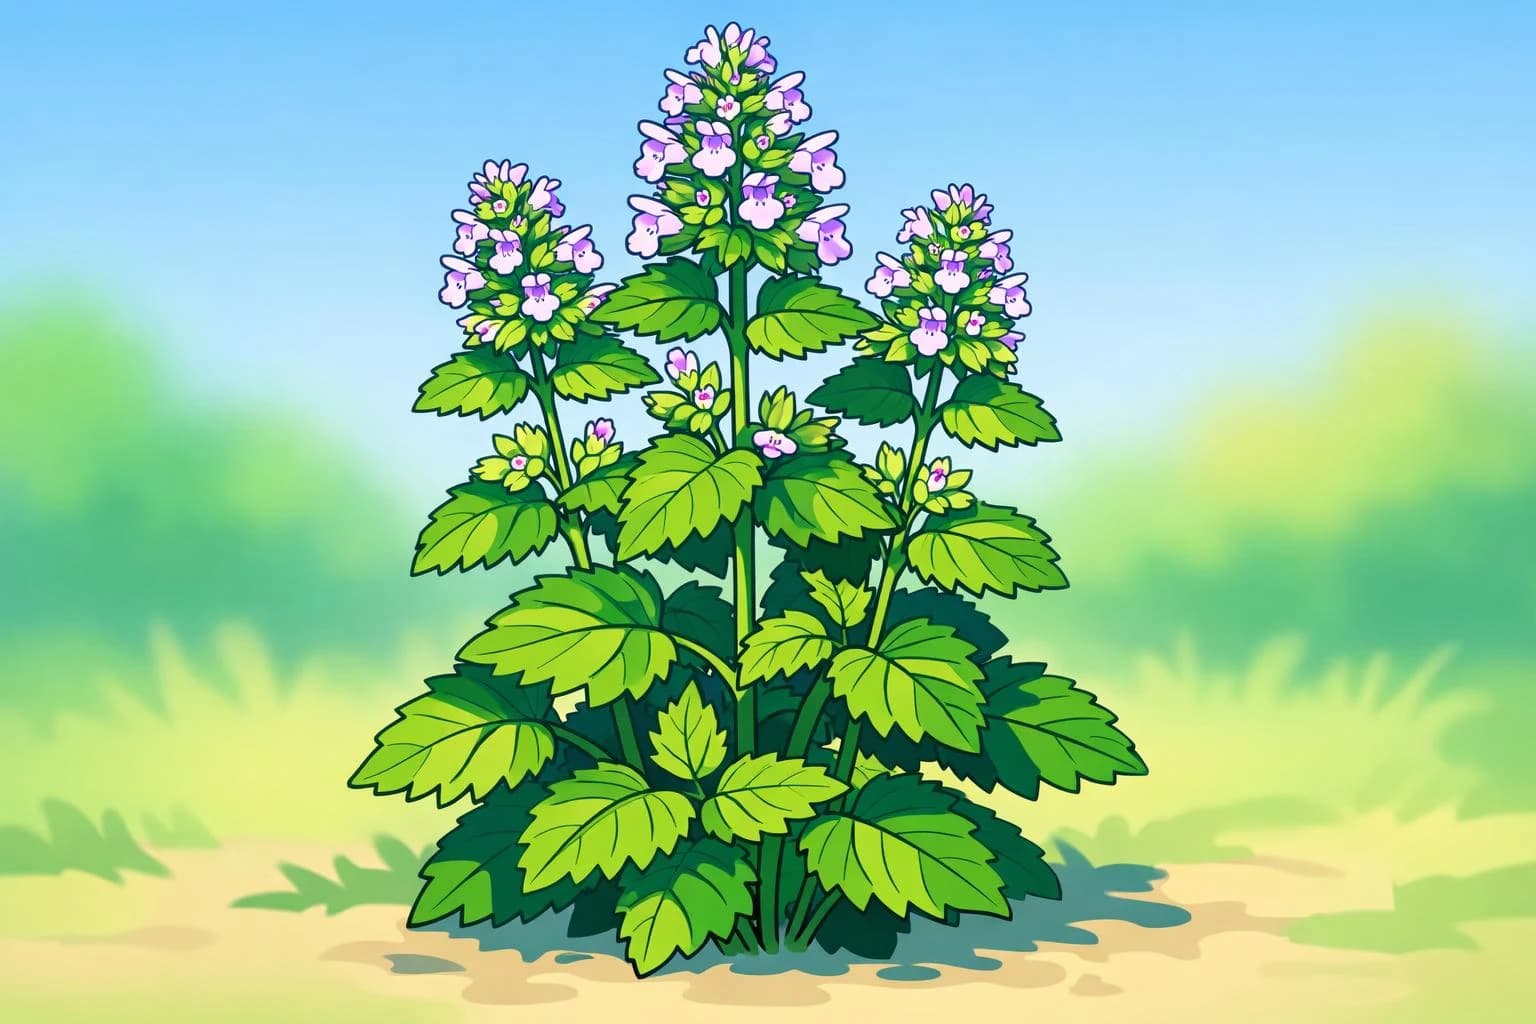
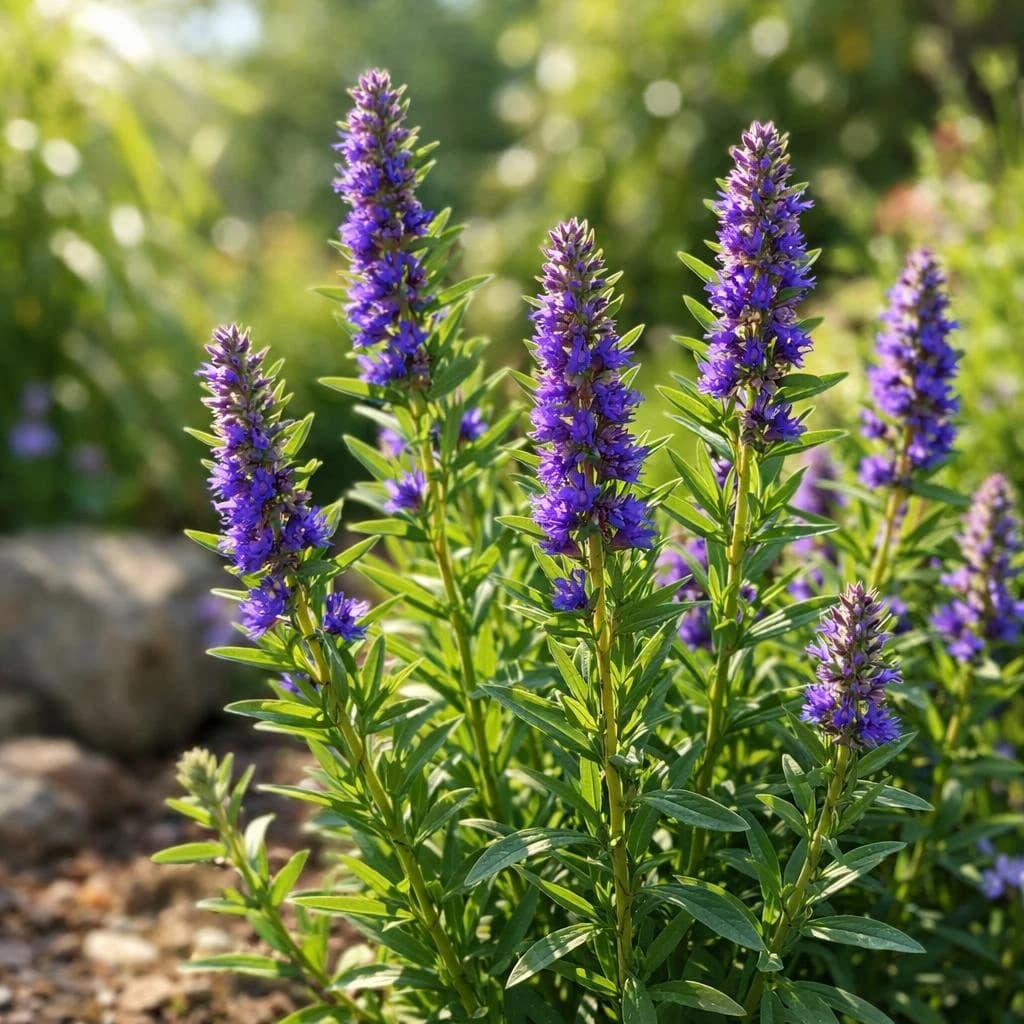
Hyssop is a tough, long-lived herb that comes back every year and handles dry spells well. Its blue, pink or white flower spikes bloom for weeks in summer and draw bees and butterflies like a magnet.
When To Start
Hyssop needs warmth. Wait until your last frost has passed and the soil has warmed before sowing.
We do not have exact sowing dates for this one yet.
When should you plant Hyssop?
Your planting dates depend on your local climate. Sign up and add your location to unlock personalized dates.
Your Hyssop Planting Window
Start planting
May 15, 2026
Last chance
Sep 10, 2026
Your Hyssop Calendar
Set your location to turn these into exact dates and reminders.
Sow hyssop outdoors now, it handles light frost
1 week before your last frost
Optional: start hyssop indoors for first-year flowers
8 weeks before your last frost· optional
Trim hyssop back by a third after it flowers
90 days after your last frost· every year
Did you water your hyssop seedlings today? Keep the top of the soil damp until they are up and growing.
About 1 days after you plant it
Hi from your growing space! Keep the soil lightly moist until your hyssop seedlings are up and growing.
About 30 days after you plant it
Good growing! Hyssop likes full sun and well-drained soil, so let it dry a little between waterings.
About 90 days after you plant it
The Journey Ahead
Hyssop's Lifecycle
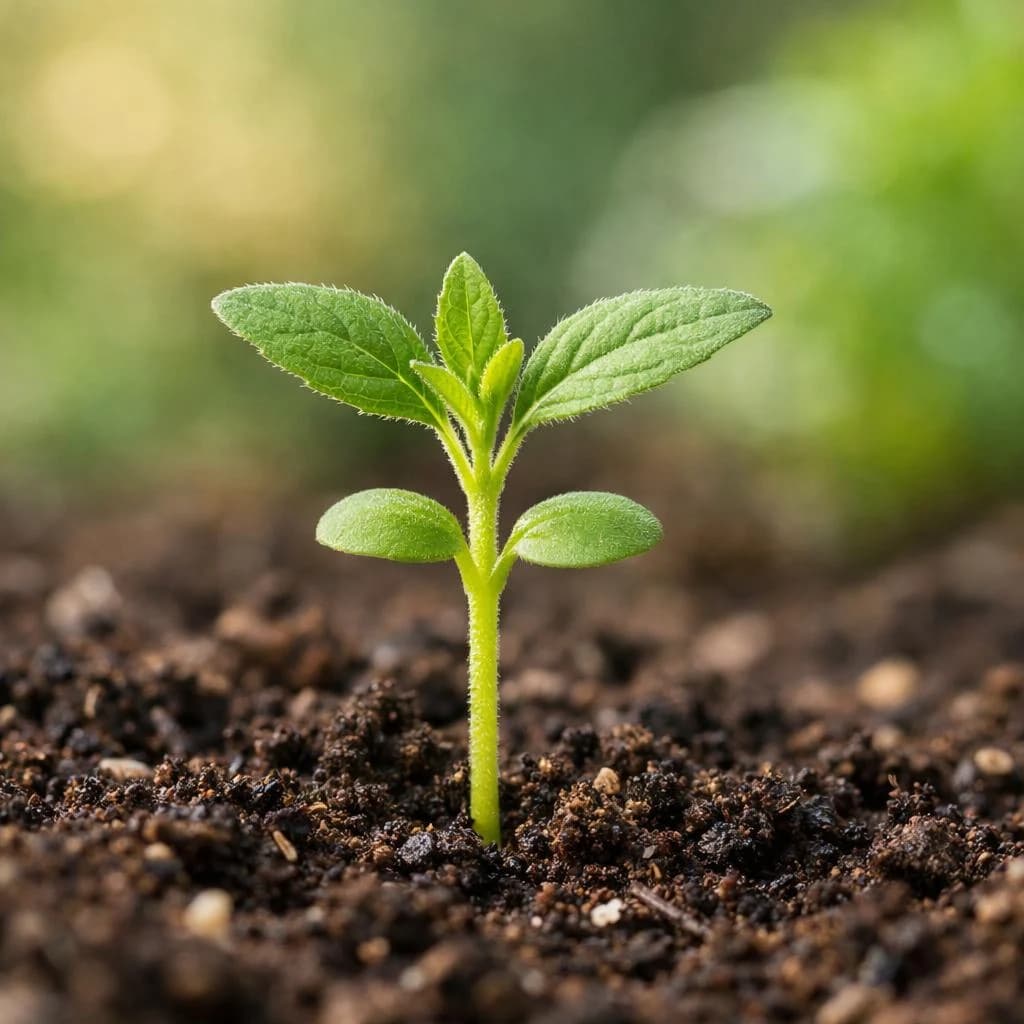
Seedling
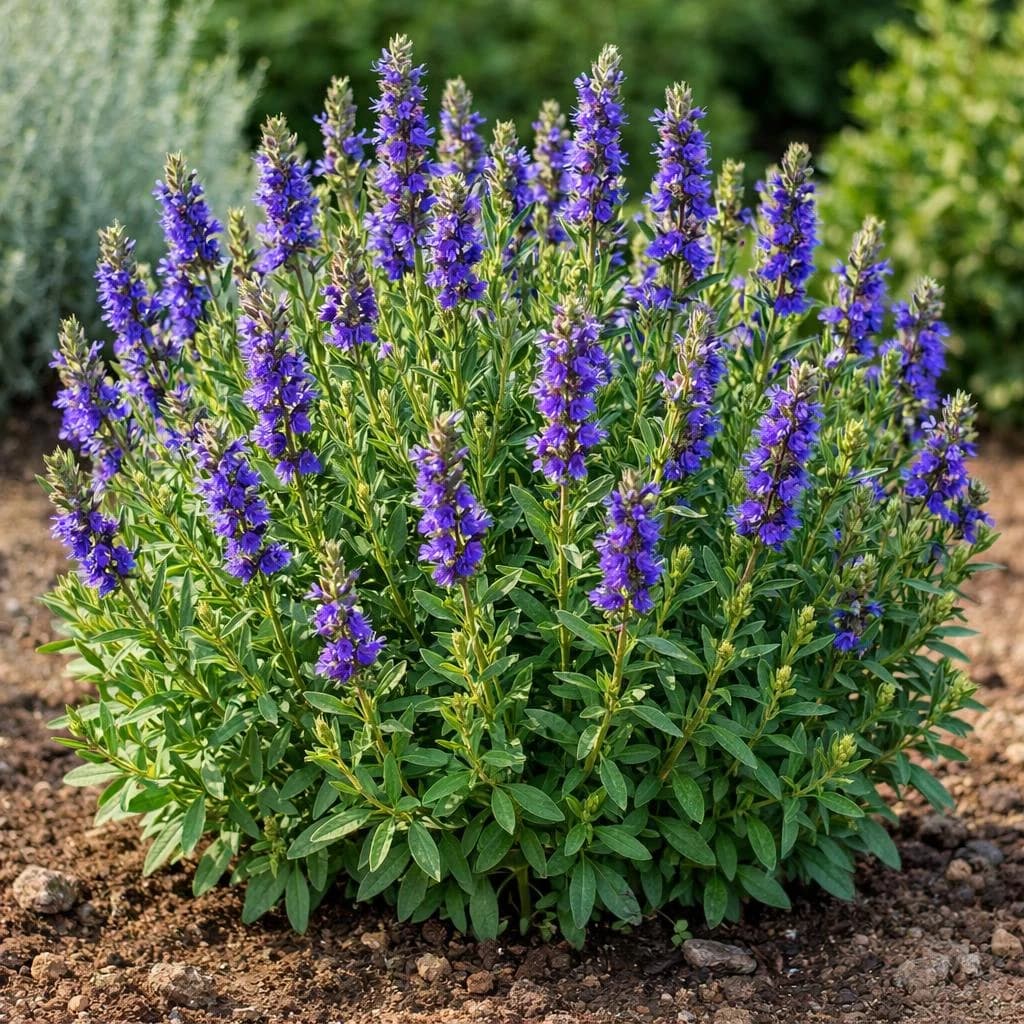
Mature Plant
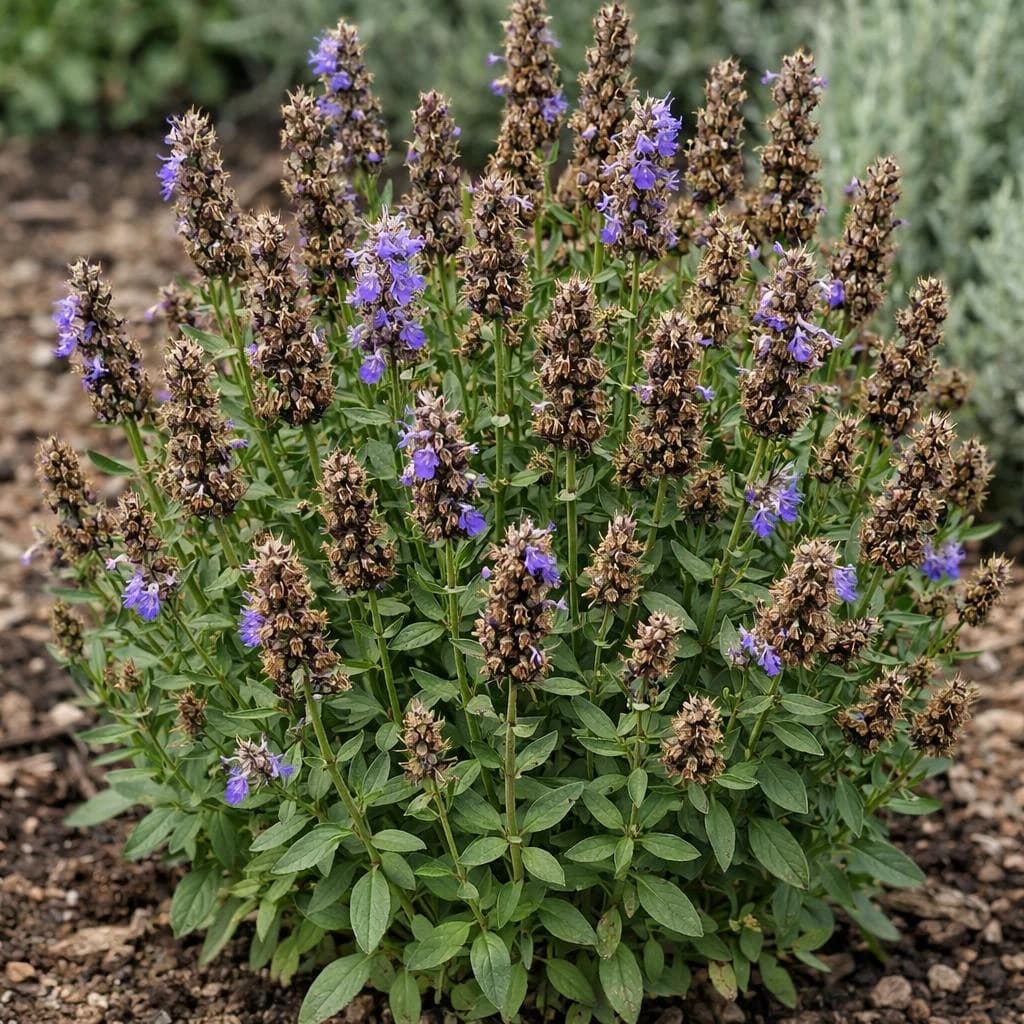
Seed Production
Step 2
Planting & Sprouting
Expect sprouts in 14–21 days
Growing Tips
- 1Grow hyssop in full sun, at least 6 hours a day.
- 2It needs well-drained soil, so mix in a little compost and some grit, and avoid soggy spots.
- 3Water young plants until they settle in, then only in long dry spells.
- 4A thin layer of compost around the base each spring is all the food it needs.
- 5Trim the plant back by about a third in early spring, and again after flowering, to keep it bushy.
- 6Few pests bother hyssop, and its flowers bring in bees, butterflies and hoverflies that help the rest of your garden.
Seedling Phase
Step 3
Growth & Maturity
60 cm
Mature Height
40 cm
Mature Width
Pests to Watch For
Diseases to Watch For
Mature Plant
Step 4
Harvesting
When to Pick
Pick leaves and flower spikes through the season; flavour peaks at flowering
How to Harvest
- 1Pick leaves and young stem tips any time from late spring, once the plant is growing well.
- 2The flavour, strong and a little minty and bitter, is best just as the flowers open.
- 3Snip stems in the morning once the dew has dried, and leave at least two thirds of the plant.
- 4Use small amounts of the fresh leaves in salads, soups and with meats, or hang bundles upside down to dry for tea.
- 5After the main flush of flowers, cut the whole plant back by a third to keep it tidy and bring on new leaves.
Step 5
Saving Seeds
How to Save Seeds
Hyssop flowers are visited by bees, so hyssops of different colours growing together can cross, though the seeds still grow into hyssop. Let a few flower spikes stay on the plant until they turn brown and dry. Cut them into a paper bag and shake out the tiny dark seeds. Store them labelled somewhere cool, dark and dry, where they keep about 3 years, and expect a few seedlings to pop up around the plant on their own too.
Seed Production
Still have a question?
Ask your coach about your hyssop.
This page covers what we thought to write down. Your hyssop will do something it never mentions, and that is the day a coach beats a guide. Ask Coach Lumen one question right now, free, no account.