How to Grow Oyster Mushroom
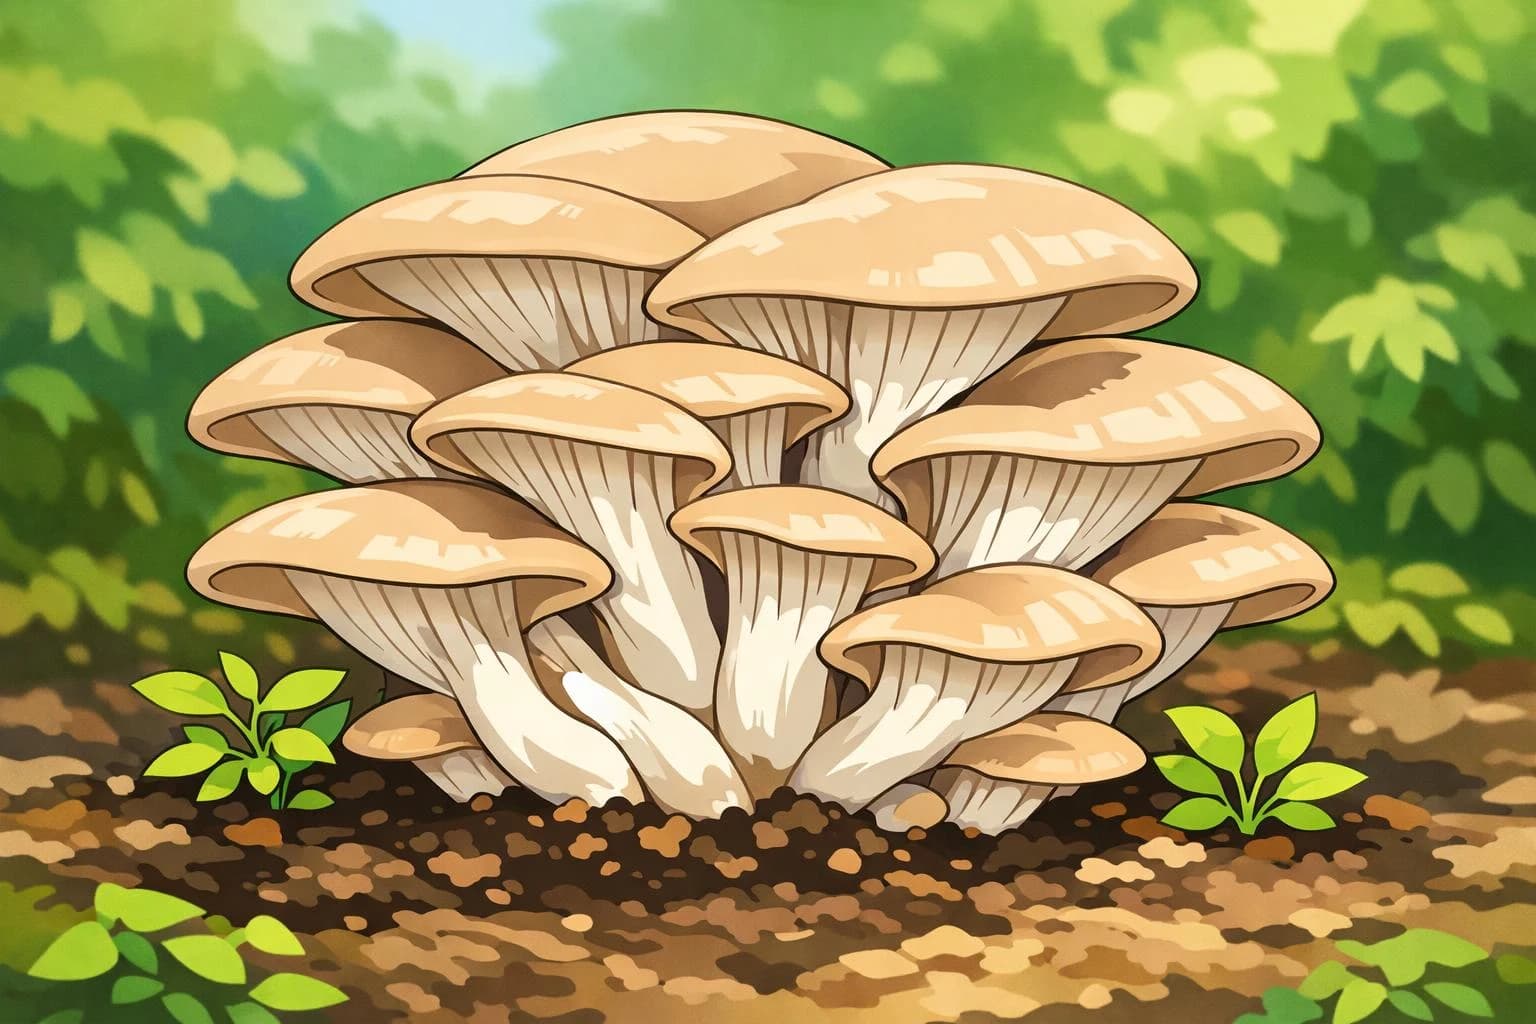
Oyster Mushroom At a Glance
Difficulty
Easy
Category
Mushroom
Sun Exposure
Full Shade
Frost Tolerance
Not Applicable
Plant Family
Pleurotaceae
Growing Season
Year Round
Plant Lifecycle
Annual
How to Start It
★ Recommended for beginners
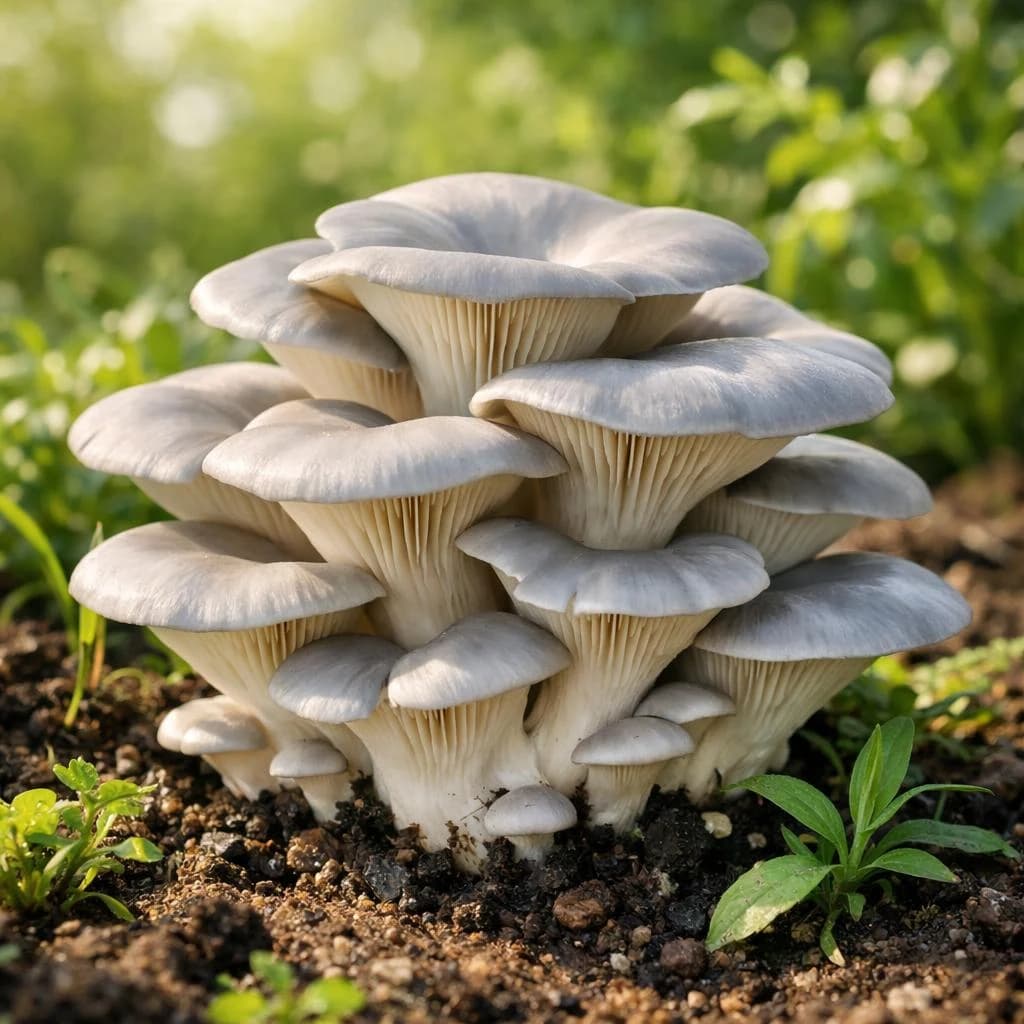
A kit is a block already filled with mushroom roots, ready to fruit. Cut it open the way the kit says, mist it twice a day and keep it on a counter out of direct sun, and the first mushrooms appear in 1 to 2 weeks.
Safety first: only eat mushrooms that grew from a kit or spawn you bought, right where you put it. Wild mushrooms, some of them deadly, can pop up in the same pots, logs or wood chips, so if one looks even a little different, don't eat it. Oyster mushrooms are the easiest mushroom to grow, ready in weeks rather than months, with no soil or garden needed. They come in flushes: a crop of mushrooms, a rest, then another crop.
When To Start
Oyster Mushroom grows all year in the right spot, so there is no window to wait for.
We do not have exact sowing dates for this one yet.
When should you plant Oyster Mushroom?
Your planting dates depend on your local climate. Sign up and add your location to unlock personalized dates.
Your Oyster Mushroom Planting Window
Start planting
May 15, 2026
Last chance
Sep 10, 2026
Your Oyster Mushroom Calendar
Set your location to turn these into exact dates and reminders.
Open your oyster mushroom kit and start misting
About 0 days after you plant it
Pick your first oyster mushrooms before the caps flatten
About 14 days after you plant it
Soak and rest your mushroom block for a second crop
About 28 days after you plant it· optional
Your oyster mushroom kit is waking up! Mist the opening once or twice a day to keep it humid.
About 7 days after you plant it
Your first flush is close! Cut the whole cluster just before the cap edges start to curl up.
About 14 days after you plant it
Step 1
Prepare Your Space
Vertical Growing
Yes: columns and side-fruiting bags use vertical space well.
Succession Planting
Yes: stagger inoculations for a steady supply.
Good Companions
Bad Companions
Step 2
Planting & Sprouting
Growing Tips
- 1Only ever eat mushrooms that grew from your own kit or spawn, and throw out any that look even a little different from the rest, because wild look-alikes, some of them deadly, can sprout in the same spot.
- 2Keep the block in bright, indirect light, never in direct sun.
- 3Mist the air around the block 2 to 3 times a day, or tent it loosely with a clear bag with a few holes, so the air stays moist.
- 4Give it fresh air every day, since stale air makes long stems and tiny caps.
- 5A cool room suits oysters, away from heaters and drafts.
- 6Once a block is used up, crumble it into your compost or garden, where it feeds the soil.
Step 3
Growth & Maturity
Pests to Watch For
Diseases to Watch For
Step 4
Harvesting
Harvest Window
14 days
When to Pick
Cut the whole cluster just before the caps flatten and the edges start to curl up
How to Harvest
- 1Oyster mushrooms are ready when the caps are full size but the edges still curl down, before they flatten or turn up.
- 2Twist the whole cluster off at the base, or cut it with a knife.
- 3Pick a little early rather than late, since older caps drop clouds of spores (a fine dust) that can bother your nose.
- 4After picking, soak the block in cold water for a few hours, let it rest for a week or two and keep misting, and a second crop usually follows.
- 5Most kits give 2 to 3 crops before they are spent.
- 6Keep the mushrooms in a paper bag in the fridge and eat them cooked within a few days.
Still have a question?
Ask your coach about your oyster mushroom.
This page covers what we thought to write down. Your oyster mushroom will do something it never mentions, and that is the day a coach beats a guide. Ask Coach Lumen one question right now, free, no account.